
At the end of 2021, I crossed three U.S. National Parks and one new state off my bucket list! In one week, we made it to Zion National Park, Bryce Canyon National Park and Grand Canyon National Park!
Our week-long trip at the beginning of November started with flying into McCarran International Airport in Las Vegas – the most convenient major airport to Zion National Park, located in Southwest Utah. We rented a car and drove straight to Zion, which is an easy three-hour trip.
Rental cars in Las Vegas are not located at the airport. From the airport, you will take 1-2 shuttles to your rental car location, so be sure to factor in this extra time.
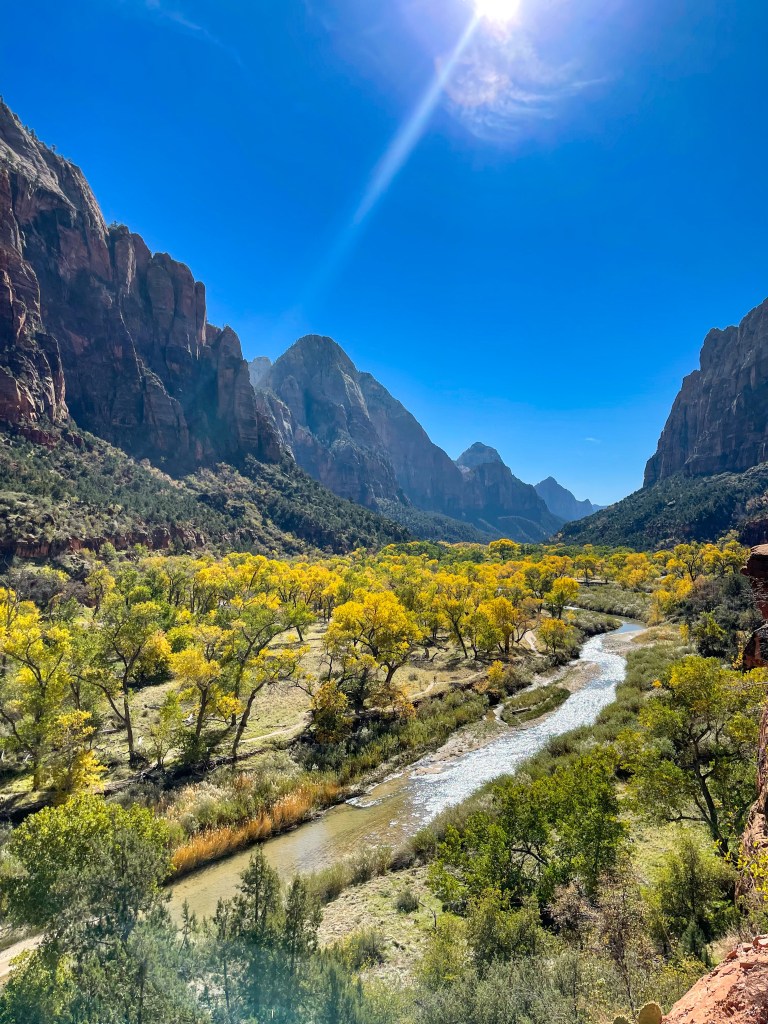
Zion National Park was Utah’s first National Park, established in 1919. The park features many stunning, massive rock arches, but the highlight is Zion Canyon, an average of 2,000 feet deep, which offers hiking trails such as The Narrows.
While you could spend weeks in the park and never get tired of the views, 3 days is a great amount of time to spend in Zion, especially if you’re continuing on to other parks.
Keep reading for my complete guide to 3 Days in Zion National Park!
OTHER AIRPORT OPTIONS:
Depending on where you’re coming from, one of these airports may be more convenient:
- St. George Regional Airport: The closest airport to Zion; limited commercial flights. One-hour drive to the park.
- Salt Lake City International Airport: Major airport with direct flights (the second-most convenient option price-wise). Four-hour drive to the park.
- Cedar City Regional Airport: Fly from Salt Lake City. One-hour drive to the park.
BEFORE YOU GO
- Download the All Trails app and save the hikes you plan to do! There is very little cell phone reception in Zion National Park, so be sure to download the app before you arrive.
- Purchase a National Parks Pass. You can do this at the gate, but it takes time. The pass is $80/year, and is good for entrance to any U.S. National Park. *Military members, dependents, and Veterans receive a FREE annual pass with ID.
- Check the weather. Zion is open year-round, but the best time to visit is between April – November. Weather can vary from rain and thunderstorms to snow, which may result in trail closures. Bring plenty of water, and be prepared for anything by dressing in layers.
- Purchase & bring collapsable hiking poles. You can buy them once you arrive as well, but they are much more expensive. Here’s a link to the poles I used.
WHERE TO STAY
When looking for AirBnBs or hotels, it can be difficult to gauge on the map how close you will actually be to the park. This may sound obvious, but you want to stay as close to the park as possible to avoid long traffic lines at the entrance.
Since AirBnB doesn’t give the exact address until you book, message the host to confirm how many minutes (not miles) it takes to get to the park, and keep in mind that drive time within the park can vary greatly depending on the time of day.
Here are the best areas to stay near Zion National Park:
- Zion Lodge: It doesn’t get much more convenient than staying right inside the park! If you really want to beat the crowds and start hiking before the shuttle begins each day, this is the spot for you. Keep in mind that like most park lodges, it is expensive, and you will still have to drive to restaurants, etc.
- Springdale: Just outside of the park entrance near the Zion Visitor’s Center, Springdale is the most convenient option outside of the park with hotels, restaurants, and shops. Hotels can get pretty pricey here, so be sure to reserve early.
- Kanab: If you want to stay near Zion but have other must-see spots on your bucket list, Kanab, UT is ~30 minutes from the park, and about an hour from Page, AZ, home to Lake Powell, Horseshoe Bend, and Antelope Canyon. This is where we stayed and while it was a bit further to Zion, we loved the convenience to these other destinations.
ITINERARY – DAY 1
We arrived just ahead of golden hour, and quickly hiked the Watchman’s Trail, a 3.1 mile out and back trail that begins at the main park entrance. This trail has quite a few switchbacks, and a steady incline on the way up.

The stunning view from the peak of the Watchman’s Trail at sunset was an incredible way to begin our trip!
After our hike, we grabbed dinner at Zion Canyon Brew Pub in Springdale, (right outside of the park), which was so delicious!
We went to bed full, exhausted, and early, to prepare for the hike to Angel’s Landing the next day.
DAY 2
Since our AirBnb was in Kanab, we woke up around 4:30AM to drive to the park, get breakfast at Perks!, and fill our water packs before taking the park shuttle to the Angel’s Landing trailhead.
The shuttle is free, and runs the majority of the year, but be sure to check the Zion website when planning your visit.
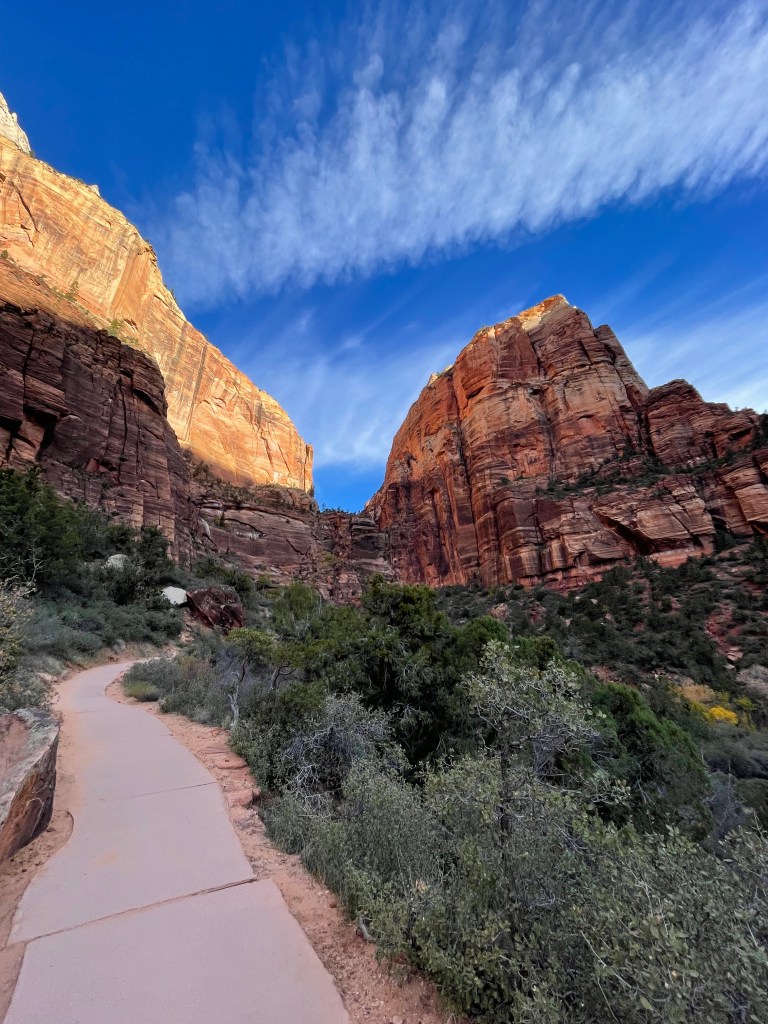
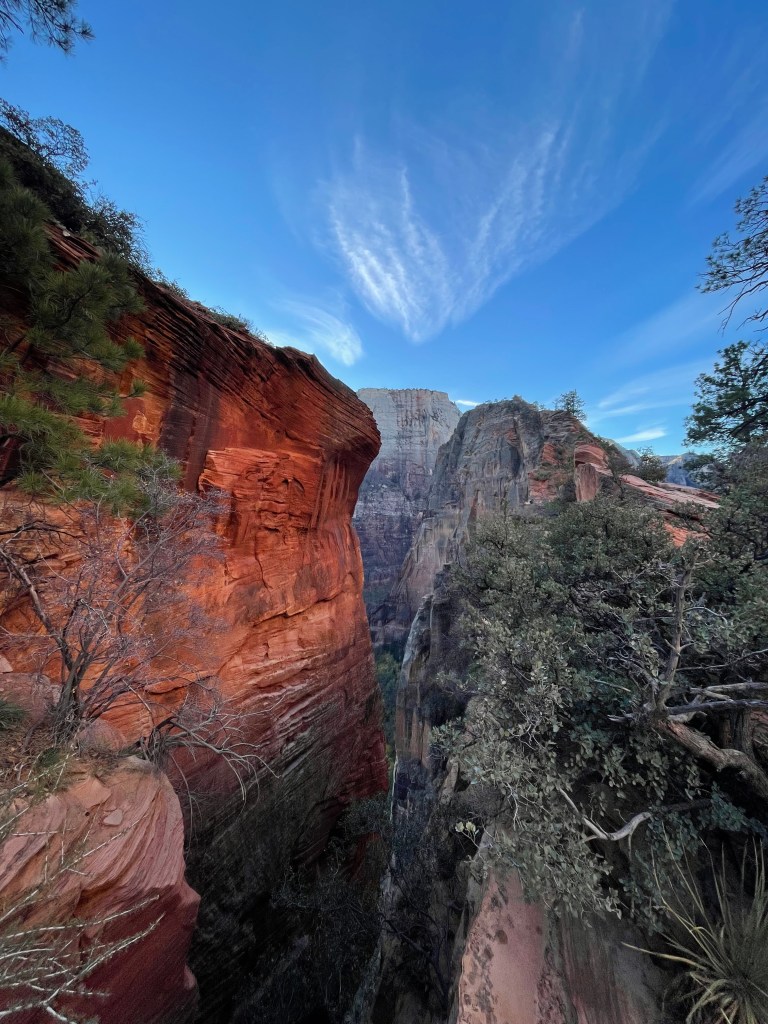
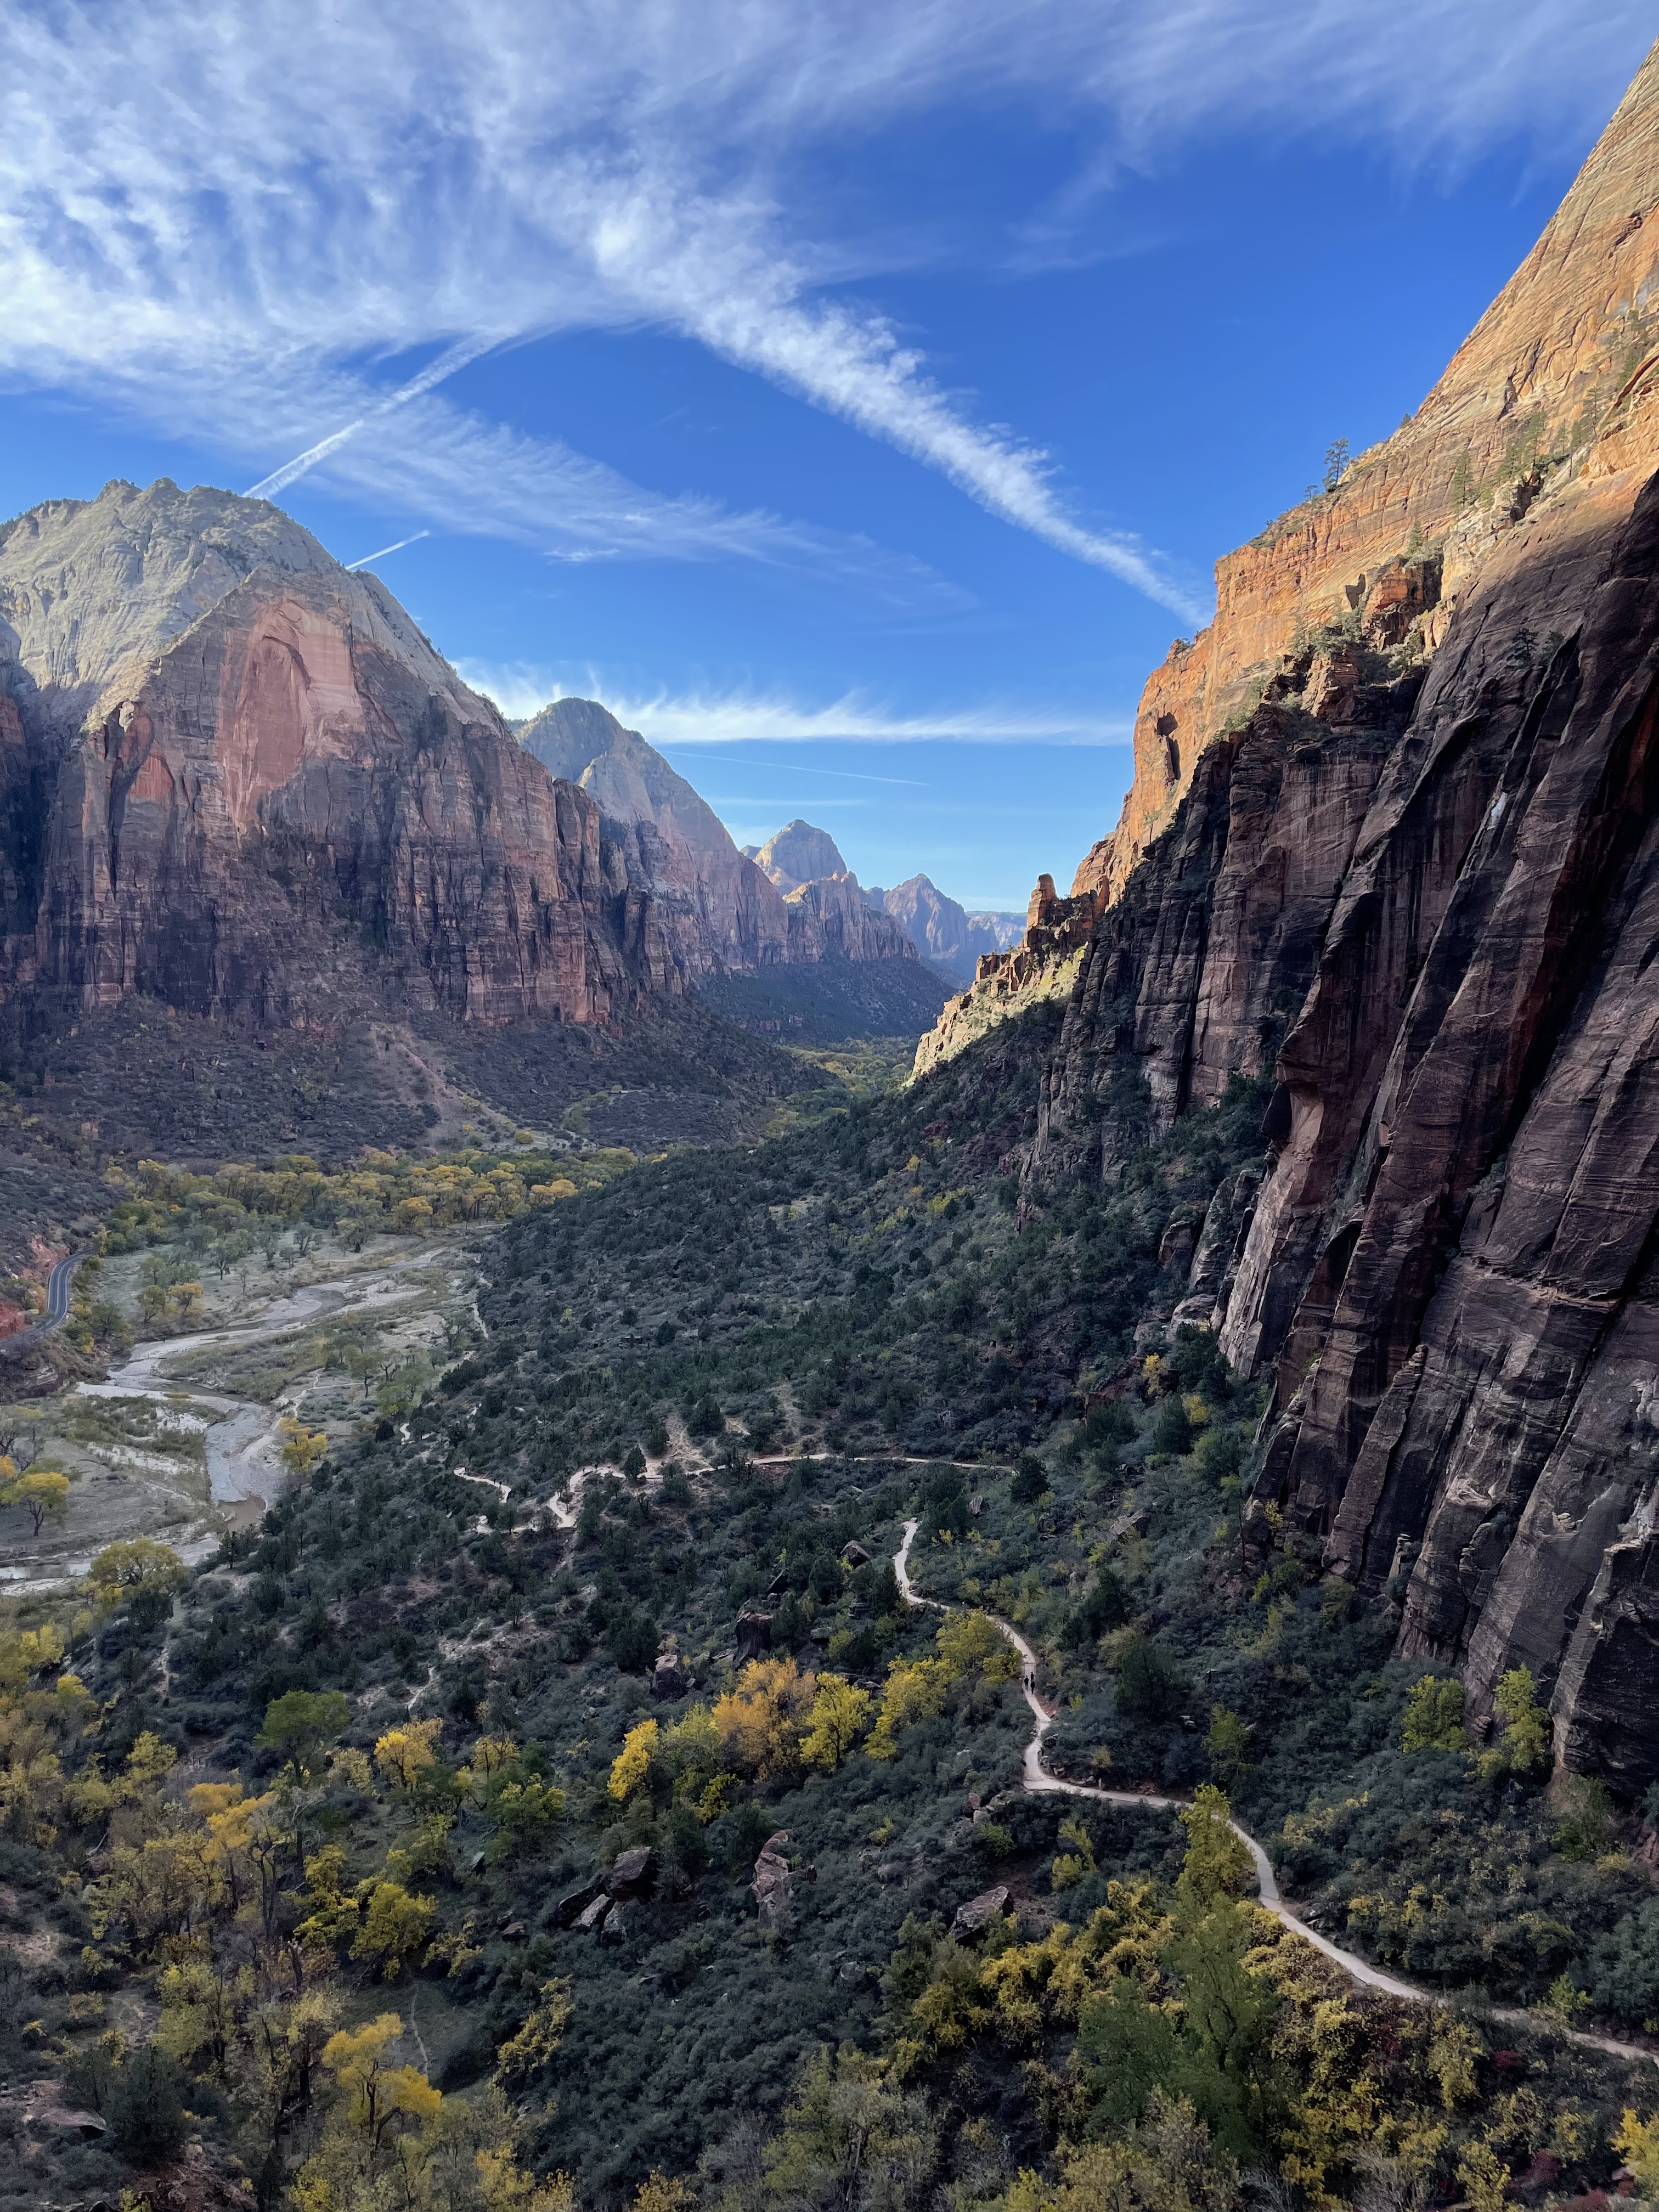
Angel’s Landing is the hike that most people think of when they hear Zion, and had been on my bucket list for years! The trail is a strenuous 5.4 miles RT with 21 steep switchbacks, 1500ft elevation gain, and intimidating drop-offs.
We got on one of the first shuttles while it was still dark outside, and arrived at the trailhead about 10 minutes later. It was FREEZING that morning, but as we climbed and the sun came up, it quickly warmed up.
Along the way, we met a hiker who had been traveling through the U.S. National Parks for months on an RV trip, but said that Angel’s Landing was one of the most difficult hike he had done so far.
Once we reached Scout’s Lookout, we took a break (and a ton of photos) before attempting the last portion of the hike – the most dangerous part that requires the use of chains, that many people opt out of.

According to the NPS Website, In response to concerns about crowding and congestion on the trail, on and after April 1, 2022, everyone who hikes Angels Landing will need to have a permit. Learn more about obtaining a permit here.
Due of major crowding and the cold (it was cold enough that we needed to wear gloves, and didn’t feel safe doing so while using the chains), we started climbing using the chains and then turned back. If we go back in warmer weather, I would definitely try it again!
*NOTE: Angel’s Landing now requires a permit as of April 1, 2022, due to overcrowding. Find out more about the system and apply for your your permit here.
The hike back down was almost just as strenuous, and our hiking poles came even more in handy during this portion of the hike!
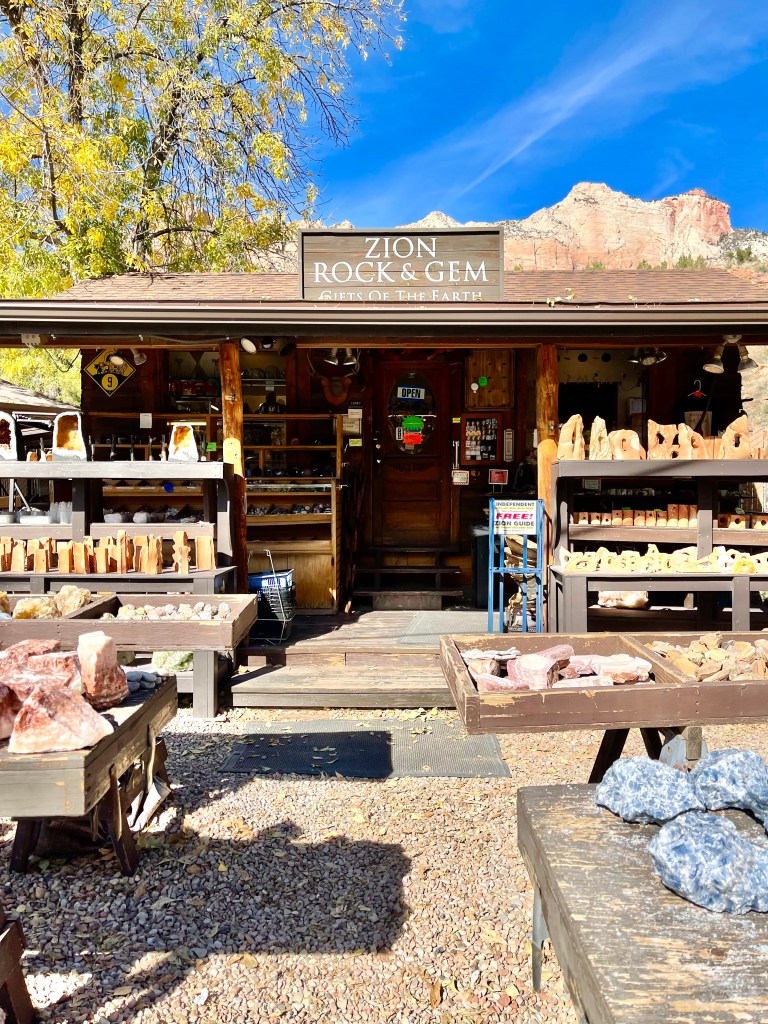
After we shuttled back to our car, we went to lunch at Oscar’s Cafe and explored the many gem and souvenir shops in Springdale.

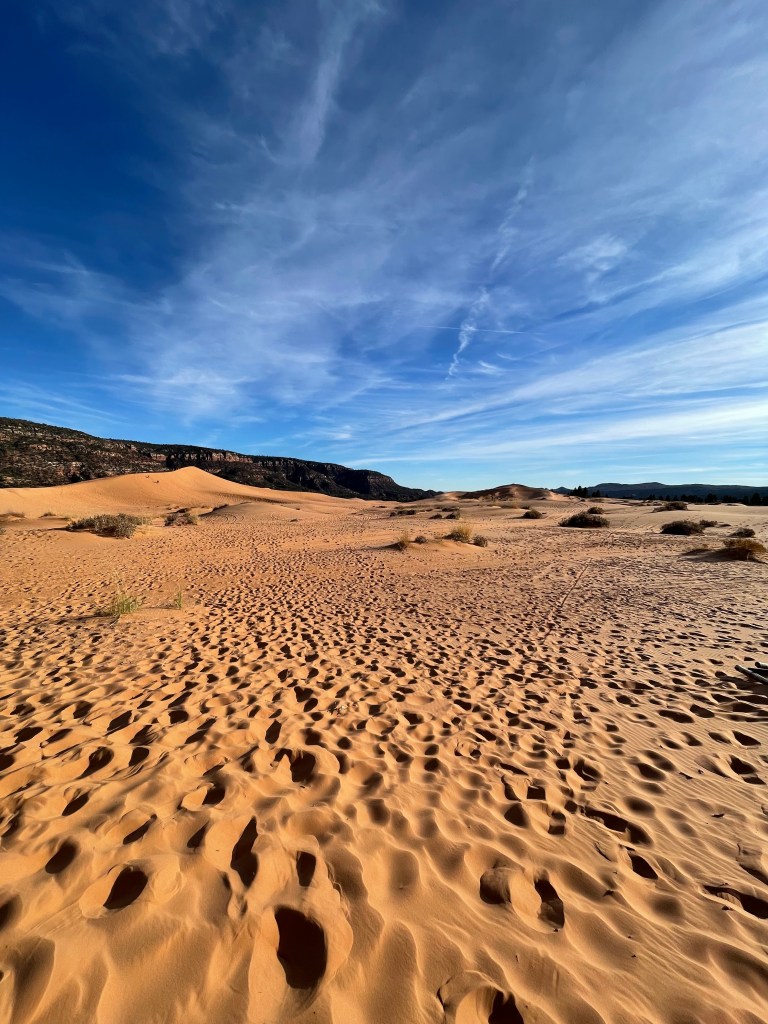
From there, we headed back towards Kanab, and stopped at Coral Pink Sand Dunes State Park to marvel at the coral-colored hills! If you have time, be sure to add ATV-riding here to your itinerary!
DAY 3
We grabbed coffee and breakfast at Sunny Creek Coffee in Kanab, and then headed back to Zion for our final day before heading to our next stop: Grand Canyon National Park.
Before hiking, we stopped at the Visitor’s Center to grab some last souvenirs. Unlike many other visitor’s centers, prices here were very reasonable, and the selection was vast, from t-shirts to water bottles to posters, magnets, etc.
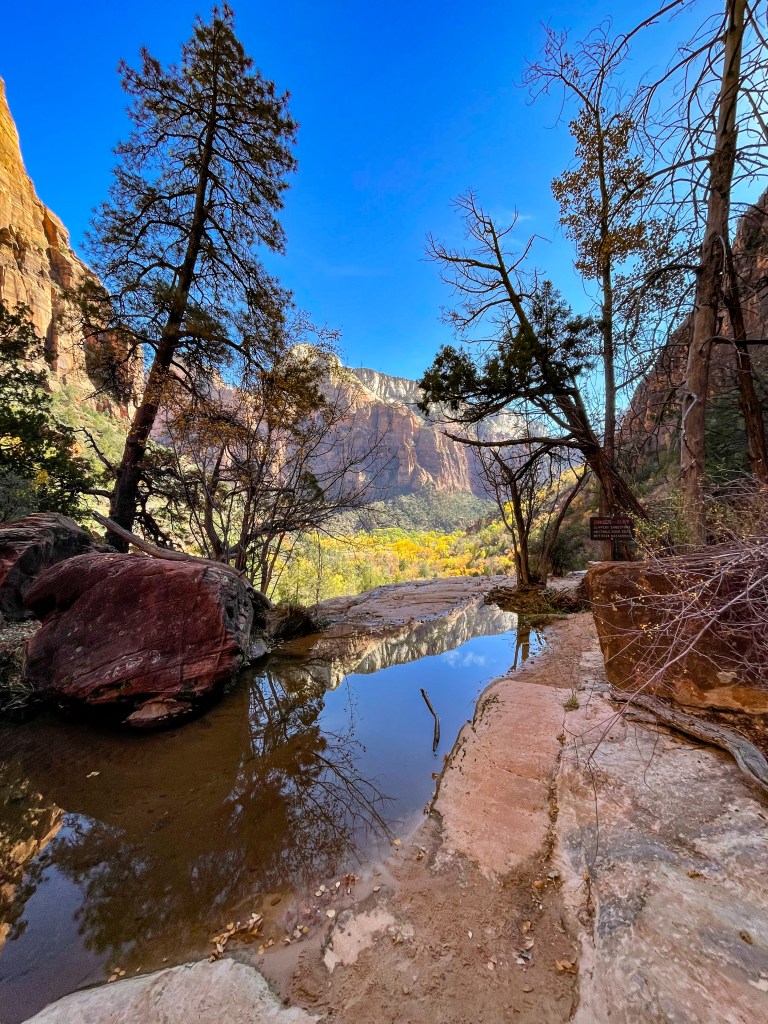
Since the water levels weren’t ideal for The Narrows, we opted to hike the Emerald Pools Trail instead. This is a 3-mile loop with lots of different scenery and beautiful views.
Unfortunately, the trail was completely packed making the narrow passes and rocky terrain more difficult, and the pools were very low. Overall, it was still a good experience, and I even ran into an acquaintance from Texas along the way!
Zion National Park is one of the most incredible places I’ve ever visited, and I can’t wait to return one day!
This trip also made me fall in love with Utah, something that I definitely did not expect. Stay tuned for my next post on Bryce Canyon National Park!

Leave a comment